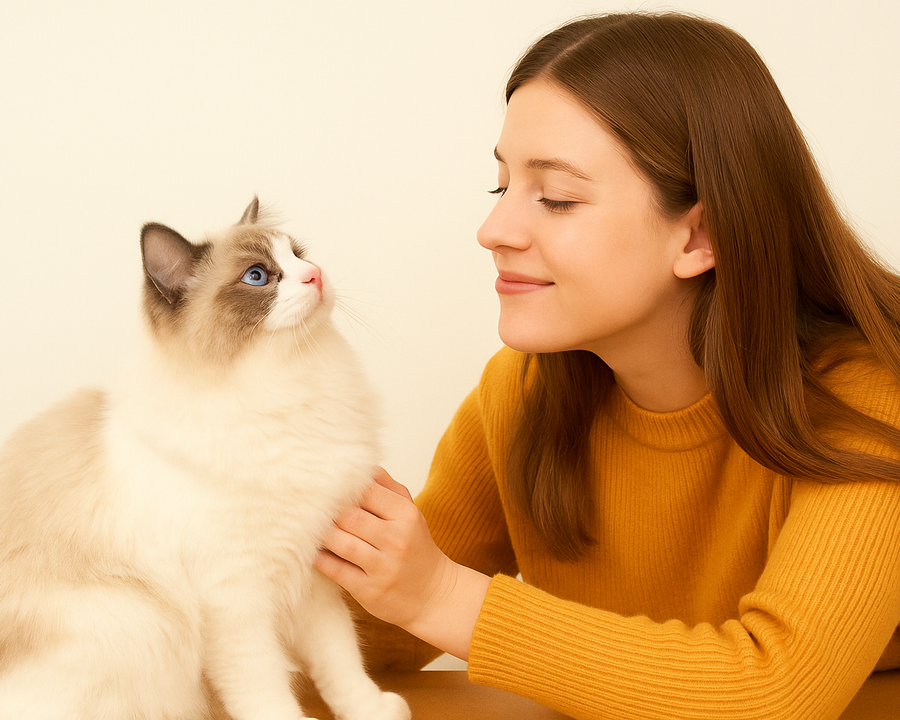
Cats gotta scratch, right? It's just what they do. They need to keep their claws in shape and, let's be honest, sometimes it's a way for them to blow off steam. The problem is, they often pick our favorite couch or that nice rug as their personal scratching post. Buying a fancy cat scratch board from the store can get pretty pricey. But what if you could make your own? It's totally doable, and you can even make it look good. We'll walk through some simple ways to build a cat scratch board that your feline friend will love, and your wallet will thank you for.
Key Takeaways
-
Cats scratch to maintain their claws, mark territory, and relieve stress, making a dedicated cat scratch board a must-have.
-
Common materials for DIY cat scratch boards include sisal rope, carpet scraps, and sturdy cardboard.
-
Simple designs like wrapped posts or cardboard creations are beginner-friendly.
-
More advanced projects can include multi-level towers or corner protectors to suit your cat's preferences and your home.
-
Encourage use by strategically placing the cat scratch board and introducing it with catnip or toys.
Understanding Your Cat's Scratching Needs
Cats scratch for a bunch of reasons, and it's totally natural behavior. It's not just about keeping their claws in shape, though that's a big part of it. Scratching also helps them stretch out their bodies, sort of like a morning yoga session for your feline friend. Plus, it's a way for them to mark their territory, both visually with claw marks and with scent glands in their paws. Think of it as leaving little messages for other cats, or even just for themselves.
Why Cats Scratch
Scratching is deeply ingrained in a cat's instincts. It helps them shed the outer husks of their claws, keeping them sharp and healthy. Without a proper outlet, they'll find something else to use – and that's usually your favorite armchair or the corner of the rug. It's also a stress reliever for them. When a cat is feeling anxious or excited, a good scratch can help them calm down or express that energy.
-
Claw Maintenance: Shedding old claw sheaths.
-
Territorial Marking: Leaving visual and scent marks.
-
Stretching: Full body extension and muscle toning.
-
Stress Relief: A way to release pent-up energy or anxiety.
It's important to remember that scratching is not a sign of aggression or spite. It's a communication method and a physical need. Providing appropriate scratching surfaces is key to a happy cat and a happy home.
The Importance of a Dedicated Scratching Surface
Giving your cat a designated place to scratch is super important for a few reasons. First off, it redirects their natural scratching behavior away from your furniture. If you don't provide an alternative, your couch is going to be the next best thing. A good scratching post or board gives them something that feels good to sink their claws into and satisfies that urge. It also helps keep your cat's claws from getting too long and potentially causing problems, like ingrown claws.
Here's why a dedicated surface matters:
-
Prevents Furniture Damage: Saves your belongings from shredding.
-
Satisfies Natural Instincts: Allows cats to perform a necessary behavior.
-
Promotes Physical Health: Aids in claw health and provides a good stretch.
-
Reduces Stress: Offers a healthy outlet for pent-up energy or anxiety.
When choosing or making a scratching surface, consider what your cat seems to prefer. Some cats love the rough texture of sisal rope, while others prefer cardboard or even carpet. Offering a variety can help you figure out what your cat likes best.
Essential Materials for Your Cat Scratch Board
Alright, so you've decided to build your own cat scratcher. That's awesome! It's way cheaper than buying one, and you can make it exactly how your cat likes it. But before you start sawing and gluing, you need to gather your supplies. Think of this as the foundation for your cat's new favorite hangout spot.
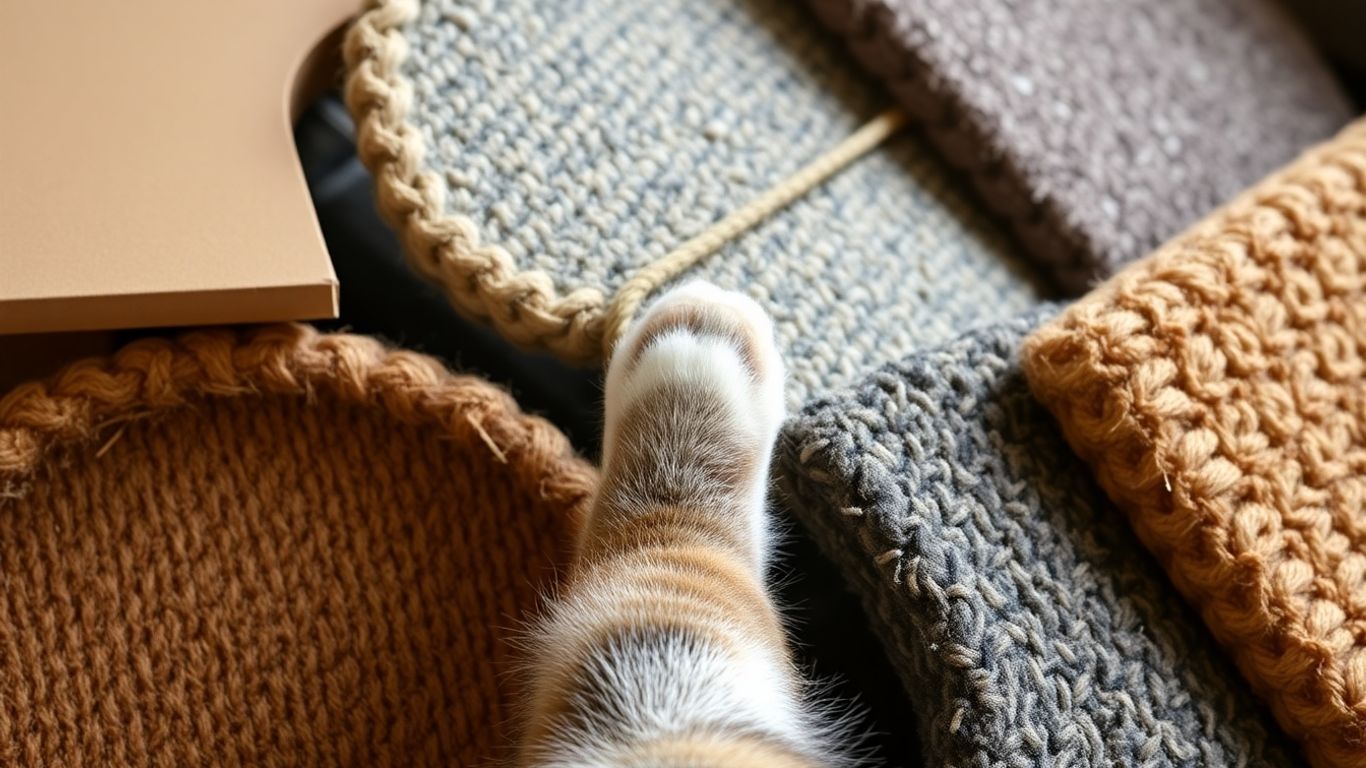
Choosing the Right Scratching Material
This is probably the most important part. What does your cat actually like to sink their claws into? Most cats go crazy for sisal rope. It's durable and gives them that satisfying shredding feeling. Another popular choice is carpet. If you go this route, try to find a sturdy, low-pile carpet scrap. Avoid anything too plush or with loose loops, as your cat could get their claws stuck. You can even use corrugated cardboard, which is super cheap and many cats love it.
Wood and Fasteners
For the main structure, you'll need some wood. A common choice is a 2x4 board, which is sturdy and easy to work with. You'll also need screws to hold everything together. Wood glue is also a good idea for extra strength. If you're not a seasoned woodworker, don't worry too much about fancy cuts. Simple, straight pieces will do the job just fine. You can even get lumber cut to size at most hardware stores, which saves you a trip with a saw.
Optional Additions for Comfort and Stability
Want to make your scratcher extra special? Consider adding a wider base made of plywood or an old rug. This helps prevent the scratcher from tipping over when your cat gets really enthusiastic. Some people like to add a little perch or platform on top, giving your cat a place to survey their kingdom. A post cap can give the top a nice finished look.
Here's a quick rundown of common materials:
-
Sisal Rope: About 100 feet of 3/8" rope is usually plenty.
-
Carpet Scraps: Look for durable, low-pile options.
-
Wood: 2x4s are a good starting point, but you might also need plywood for a base.
-
Fasteners: Wood screws and wood glue are your friends.
-
Tools: You'll likely need a saw, a drill, a staple gun, and a utility knife.
Building a cat scratcher doesn't require a professional carpentry setup. Simple tools and readily available materials are all you need to create something your cat will adore. Focus on making it sturdy and providing a good scratching surface, and your feline friend will be happy.
If you're looking for a straightforward project, check out this guide for building a DIY cat scratching post. It covers the basics of what you'll need.
Simple Cat Scratch Board Designs
Sometimes, you just need a straightforward project to keep your feline friend happy and your furniture safe. These simple designs are perfect for beginners and use readily available materials. They get the job done without a lot of fuss.
Carpeted Scratching Post
This is a classic for a reason. Cats often enjoy the texture of carpet, and it can be a great way to use up leftover carpet scraps. You'll typically need a sturdy base, a vertical post, and plenty of carpet to wrap around it. Securing the carpet tightly is key to making it last.
Materials often include:
-
A wooden base (like a piece of plywood)
-
A wooden post or sturdy cardboard tube
-
Carpet scraps
-
Screws or strong adhesive
-
Staple gun (optional, for extra security)
One popular method involves wrapping the carpet around the post and securing it with staples or glue. The base needs to be heavy enough so the post doesn't tip over when your cat goes wild on it. You can even use the underside of carpet for a different scratching texture, which can save you the hassle of wrapping sisal rope.
Sisal Rope Wrapped Post
Sisal rope is a favorite for many cats because it mimics the texture of tree bark, which they naturally love to scratch. This design usually involves a wooden post and a lot of sisal rope. The trick here is to wrap the rope tightly and evenly, securing the ends well.
-
Start at the bottom of the post and secure the end of the rope with glue or staples.
-
Begin wrapping the rope around the post, keeping it snug against the previous layer.
-
Continue wrapping, applying glue periodically to keep the rope in place.
-
When you reach the top, secure the final end firmly.
This type of scratcher is incredibly durable. You can attach the post to a wooden base, or for added stability, you could even try using a PVC pipe as the core, as seen in some DIY cat couch protector plans.
Cardboard Scratching Solutions
Cardboard scratchers are incredibly affordable and eco-friendly. They're also lightweight and easy to replace when they get worn out. You can find many variations, from simple flat pads to more elaborate angled or multi-layered designs.
-
Flat Cardboard Pad: Simply cut corrugated cardboard into strips and glue them together edge-to-edge to form a flat scratching surface. Cats love to lie on these and scratch away.
-
Angled Scratcher: Cut a piece of cardboard into a wedge shape or create a ramp. This offers a different angle for scratching.
-
Layered Cardboard: Stack multiple pieces of cardboard, gluing them together, to create a thicker, more durable scratcher. Some designs even allow for adjustable heights, which can keep your cat more engaged.
Cardboard scratchers are fantastic because they're so adaptable. You can make them any size or shape you want, and when they're completely shredded, you can just recycle them and start fresh with a new one. It’s a win-win for your cat and the planet.
Advanced Cat Scratch Board Projects
Multi-Level Scratching Towers
Ready to go beyond the basic post? Building a multi-level scratching tower can give your cat a vertical playground. These structures often incorporate different textures and heights, catering to your cat's natural instinct to climb and survey their territory. Think about using sturdy wooden bases, perhaps a 4x4 post for the main support, wrapped in durable sisal rope. You can add platforms made from plywood, carpeted for extra comfort, at various heights. The key is stability; a wobbly tower is a no-go for most cats. Consider how you'll attach the levels securely, maybe with strong wood screws and glue. It’s a bit more involved than a simple post, but the payoff in your cat’s enjoyment is huge. You can find some great inspiration for these kinds of projects if you look up DIY cat furniture plans.
Corner Scratching Protectors
Does your cat have a favorite corner of the couch or a specific wall they love to sharpen their claws on? Instead of fighting it, why not give them a dedicated scratching surface right there? You can create simple corner protectors using thick cardboard or even by wrapping a wooden frame with sisal rope. For a more robust solution, consider a piece of plywood cut to fit the corner, covered with carpet remnants or that tough sisal material. These are great for protecting your existing furniture and are usually quite quick to assemble. You might even find that using a different texture than what they're currently scratching can redirect their attention effectively.
Modern and Decorative Scratchers
Who says cat scratchers have to be an eyesore? You can absolutely create something that complements your home decor. Think sleek lines, interesting shapes, and materials that blend in. Some designs even incorporate other furniture elements, like a scratching surface that slides over a couch arm or a stylish wooden frame with sisal rope. You could even paint or stain the wood to match your existing furniture. The goal here is to make the scratcher a functional piece of art. Consider using materials like birch plywood or even PVC pipes for a more contemporary look, wrapped with high-quality sisal. It’s about blending utility with aesthetics, making your cat happy and keeping your home looking good.
Customizing Your Cat Scratch Board
So, you've built a basic scratcher, but how do you make it truly special for your feline friend and a nice addition to your home? Customization is key! It's not just about giving your cat something to scratch; it's about making it an appealing, functional, and even stylish piece of furniture.
Adding Perches and Platforms
Cats love to survey their kingdom from a high vantage point. Adding a small perch or platform to your scratcher can turn a simple post into a multi-functional cat condo. Think about a sturdy wooden platform secured firmly to the top or side of a taller scratching post. This gives your cat a place to lounge, observe, and even take a nap after a good scratching session. When attaching these, make sure they are level and can support your cat's weight comfortably. Using strong wood screws and perhaps some wood glue will keep everything secure.
Incorporating Catnip for Attraction
Sometimes, even the best-made scratcher needs a little nudge to get your cat interested. Catnip is a fantastic natural attractant. You can sprinkle dried catnip directly onto the scratching surface, or even better, use a catnip spray. For a longer-lasting effect, you could try mixing a little catnip into a non-toxic glue before applying it to the scratching material, or even stuffing a small amount into a fabric pouch attached to the scratcher. Just a little bit can make a big difference in drawing your cat's attention.
Matching Your Home Decor
Who says cat furniture can't be stylish? You can definitely make a DIY scratcher that complements your home's aesthetic. Instead of just using plain sisal rope, consider different colors or textures. You could even wrap the base of the scratcher in a fabric that matches your sofa or curtains. If you're using wood, you can stain or paint it to fit your decor. For cardboard scratchers, you can even cover them with decorative paper or fabric. The goal is to create something your cat loves that you don't mind having out in your living space.
Here are a few ideas for materials and finishes:
|
Material |
Color/Texture Options |
|---|---|
|
Sisal Rope |
Natural, dyed (grey, blue, pink), thicker or thinner weaves |
|
Carpet Scraps |
Berber, low-pile, patterned, neutral tones |
|
Wood |
Stained (various wood tones), painted (any color) |
|
Fabric (for base) |
Upholstery fabric, faux fur, durable cottons |
Tips for Encouraging Cat Scratch Board Use
Placement Strategies
Where you put your new DIY scratcher makes a big difference. Cats often scratch to mark their territory, so placing the scratcher in a prominent spot where your cat likes to hang out is a good idea. Think about areas where your cat already likes to stretch or scratch, like near their favorite napping spot or by a doorway they frequently use. Avoid hiding it away in a corner where no one ever goes. If you have multiple cats, consider having more than one scratcher in different locations. A good rule of thumb is to have at least one scratcher per cat, plus one extra. This helps prevent territorial disputes and ensures everyone has their own space.
Introducing Your Cat to the New Scratcher
Don't just plop the scratcher down and expect your cat to use it. You need to make it appealing! A little bit of catnip can go a long way. Sprinkle some on the scratching surface or use a catnip spray. You can also try gently rubbing your cat's paws on the scratcher to transfer their scent. Playtime near the scratcher can also help. Drag a feather wand or laser pointer up and down the scratching surface to encourage them to engage with it. If your cat starts scratching, offer praise and maybe a small treat. It's all about positive reinforcement.
Maintenance and Replacement
Even the best DIY scratchers wear out. Keep an eye on the scratching material. If it starts to fray badly or become too loose, it's time for a refresh. For sisal rope, you might be able to rewrap it. For carpeted scratchers, you might need to replace the carpet section. Regularly check for loose screws or staples to keep it safe. A well-maintained scratcher is more inviting for your cat.
Here's a quick checklist for upkeep:
-
Inspect for loose parts weekly.
-
Add fresh catnip monthly.
-
Replace worn-out scratching material as needed.
Remember, consistency is key. If your cat isn't immediately drawn to the scratcher, don't get discouraged. Keep trying different placement ideas and attraction methods. Your patience will pay off when you see them happily using their new favorite spot instead of your couch!
Wrapping It Up
So, there you have it! Making your own cat scratching post doesn't have to be a huge ordeal. Whether you're a beginner looking for a simple project or someone who enjoys a bit more of a challenge, there's a DIY idea out there for you. Not only will you save some money compared to buying one, but you'll also get the satisfaction of creating something useful for your furry friend. Plus, you can totally customize it to match your home decor. Give one of these projects a try – your cat will definitely thank you for it!
Frequently Asked Questions
Why do cats need scratching posts?
Cats scratch for a few important reasons. It helps them keep their claws in good shape by shedding the outer layers. Scratching is also a way for them to mark their territory with scent glands in their paws and to stretch their bodies. Plus, it's a great way for them to relieve stress and just feel good!
What materials are best for a DIY cat scratcher?
The most popular and effective materials are sisal rope and sturdy cardboard. Cats love the texture of sisal rope for sharpening their claws. Cardboard is also a big hit, especially corrugated cardboard. Some people also use carpet scraps, but make sure it's a type that won't snag easily and unravel.
How tall should a cat scratching post be?
It's best to make your scratching post tall enough for your cat to stretch out completely while scratching. Aim for at least 2 to 3 feet in height. This allows them to get a full body stretch, which is a big part of why they scratch.
Where is the best place to put a new scratching post?
Place the scratching post in areas where your cat already likes to hang out or scratch. If they tend to scratch furniture in the living room, put it nearby. Cats also often like to scratch after waking up, so a spot near their favorite napping area is a good idea. Making it visible and accessible is key.
My cat isn't using the new scratcher. What can I do?
Don't worry, it sometimes takes a little encouragement! Try sprinkling some catnip on or near the scratcher. You can also gently rub their paws on it to transfer their scent. Play with them near the scratcher using a wand toy, guiding them towards it. Positive reinforcement, like praise or a treat when they use it, can also help.
How often do I need to replace the scratching material?
You'll know it's time to replace the scratching material when it starts to look worn out, frayed, or your cat is no longer interested in it. For sisal rope, this might be every few months to a year, depending on how much your cat uses it. Cardboard scratchers might need replacing more often.